 Highlighting the creative magic behind post-processed photos
1 video and 4 photo galleries from 4 photographers.
If you’d like to participate in ABFriday, guidelines are on the After-Before Friday Forum page.
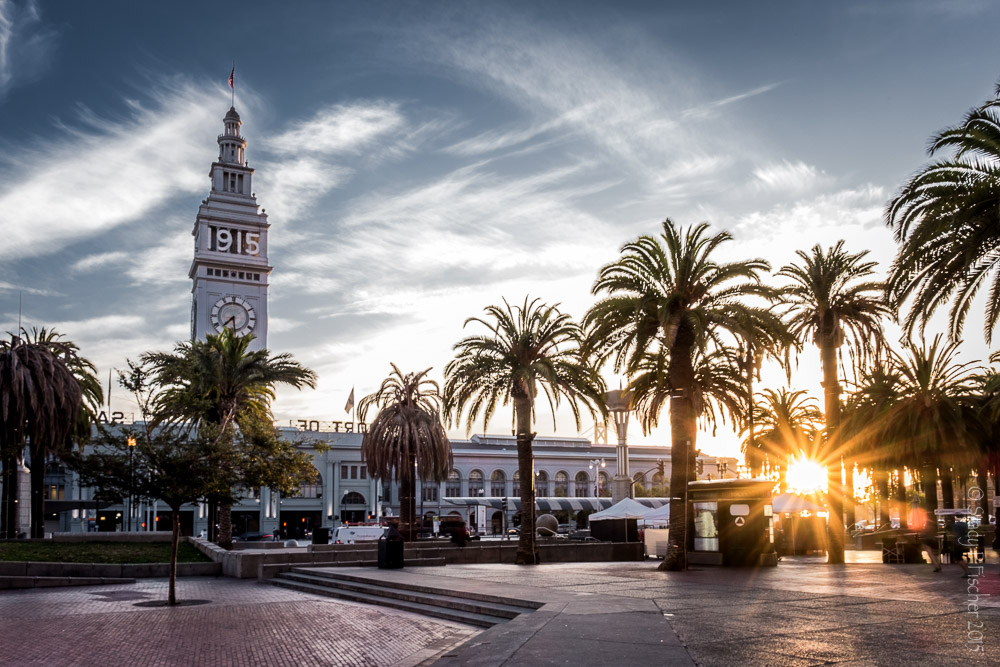
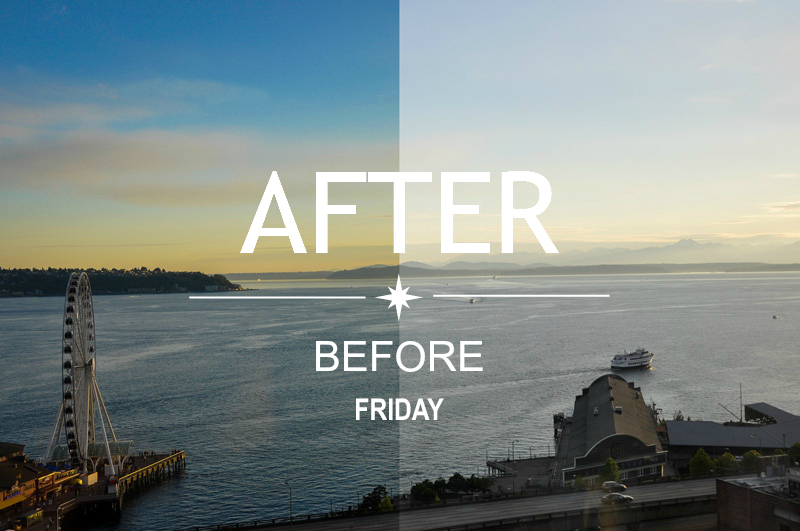
My submission: The photo I’ve chosen for this week’s video is one from my very first post on Visual Venturing, just 3-1/2 months ago. Now, with a new color-calibrated monitor (happy birthday, Mother’s Day, and Christmas to me!), I see that a number of my photos are oversaturated. But this one was also poorly processed, lacking any of the Lightroom refinements I have now become comfortable using. I have to admit that I’ve now updated that original post, adding a bit to the content and replacing the original photos with the newly post-processed ones. Have a look Inside Seattle’s Public Market. I think you’ll enjoy the visit!
I’ve also included the after and before images.
NOTE: If the slideshows don’t load in your Reader, please visit the original post.
Submitted by Wandering Cows
Submitted by Jaime Perez of My Photolanguage


Submitted by Ben Whittard of Flights.Camera.Satisfaction
Ben says “I took this shot on a beautiful sunny day in Lisbon, but the image out of the camera just didn’t reflect the mood of the scene I’d been looking at. The window was above me, so there was some unwanted vertical distortion which I fixed up in Lightroom. I then applied some of my usual techniques to brighten the image and make it pop a little more. The final result is a much better representation of the memories I have of wandering the wonderful city’s streets.”
Please click on the links of those who contributed this week, either to read about their post-processing steps or to view their own step-by-step video. They’d love to have you visit!

Seems like I missed your cut-off time for Week 5. But I have it noted for Week 6. Love this idea and the photos above are all just great- maybe because we get to see the result of the artist’s thought process at work.
LikeLike
Thanks, Emilio! Looking forward to having you along!
LikeLike
Nice processing Stacy, and thanks for including another of my shots! Great use of the adjustment brush to help maintain focus on the subject, and I didn’t know you could remove the masking by using the alt key. Thanks for the tip! 🙂
LikeLike
Thanks, Ben! Glad I could provide you a useful tip 🙂
LikeLike
Wonderful photo of those crabs, and I like your processing a lot Stacy! Lovely to hear your voice also! 🙂 So great to see other contributors’ photos! 🙂
LikeLike
Thanks, Elina! It is nice to hear other’s voices (it was so much fun to hear Ben’s British accent), but I always find it strange to hear my own voice 🙂
LikeLike
Haha, glad you enjoyed my accent Stacy. I agree though, it’s always odd to hear your own voice recorded!
LikeLike
🙂
LikeLike
It seems for most people hearing their own voice recorded is strange. Same for me. You are so courageous to do these videos. 🙂
LikeLike
Each one takes me quite a few attempts, Elina — I’ll stutter or stumble or forget something and have to start all over again 🙂 I’m hoping I get better at it as time goes on!
LikeLike
Hi Stacy, I love seeing my picture here ! I like how you’ve done the before-after in the same frame. In all the images, I can go, “ah, it was an ordinary picture and now it really is a good picture.”
LikeLike
I love having your picture here 🙂 It’s a lot of fun to see the great transformations. Thanks, again, for participating!
LikeLike
Perfectly done Stacy. This time, the edition process worked very good and the After version looks much better than the before one. A more real aspect and no didtracted element on the background. Correctly done!
LikeLike
Thanks, Jaime! It certainly came a long way from the original photo – yay for Lightroom 🙂
LikeLike
Nice finished product, Stacy! I recognized Pike Place Market right away. 🙂
LikeLike
Thanks, Lisa! It’s such a fantastic place – I could have spent days there just shooting photos.
LikeLike