
 Highlighting the creative magic behind post-processed photos
Welcome to ABFriday’s monthly One Photo Focus! This month, we’ve hit a new record with 28 photographers, all of whom are sharing their post-processing interpretations of one “before” image submitted by Benjamin Rowe of Aperture64. I’m honored! And what fun everyone had with Ben’s image of Pendennis Castle in Falmouth.
We begin with Ben’s “before” image, followed by the “afters,” and at the end, a gallery of all so you can watch the changes as you scroll through. Be sure to click the links to each participant’s blog as many have written posts “uncovering the magic” behind their “after” images. And if you would like to participate in October’s One Photo Focus, you’ll find all the details on the After-Before Friday Forum page.
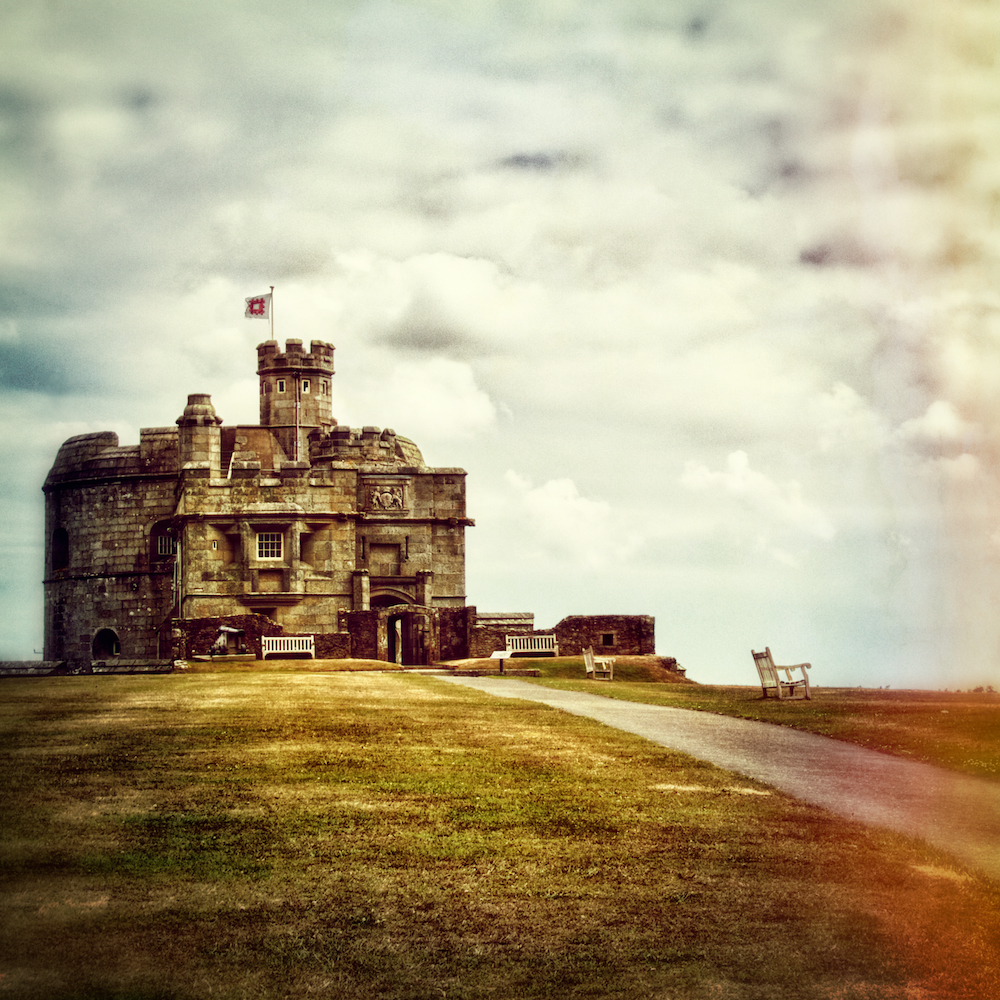
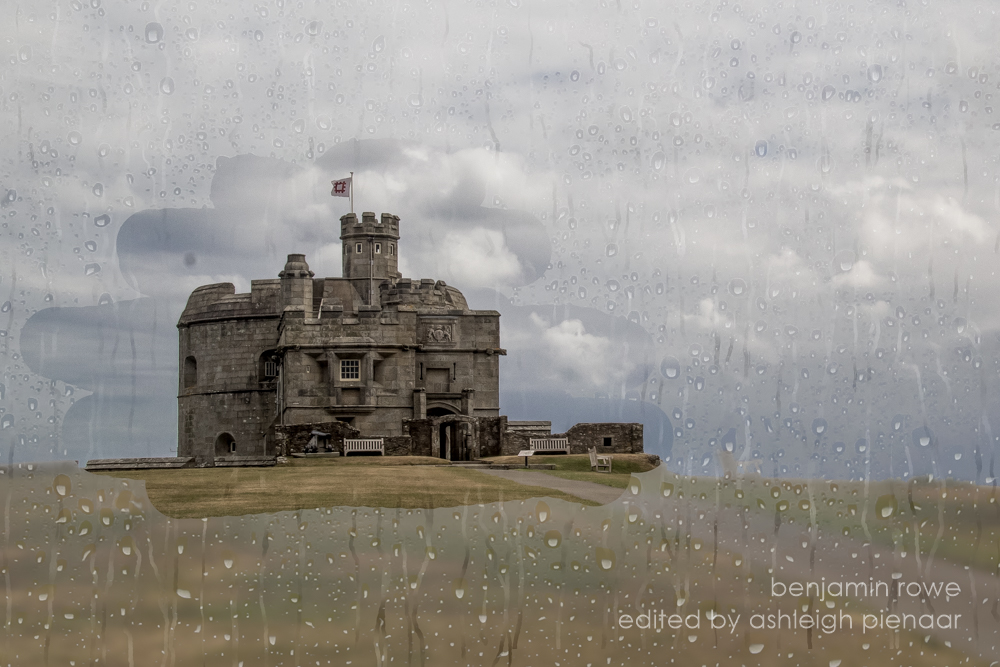
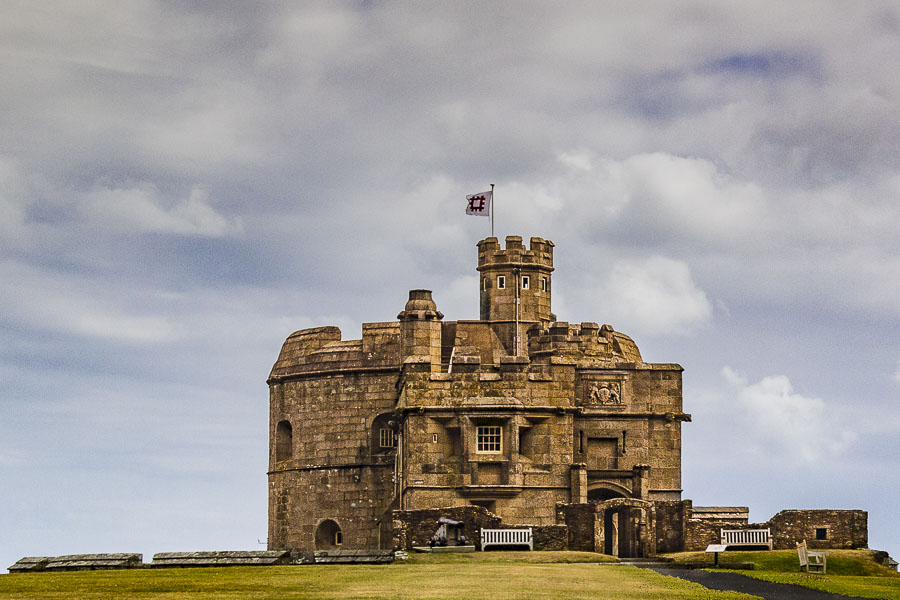
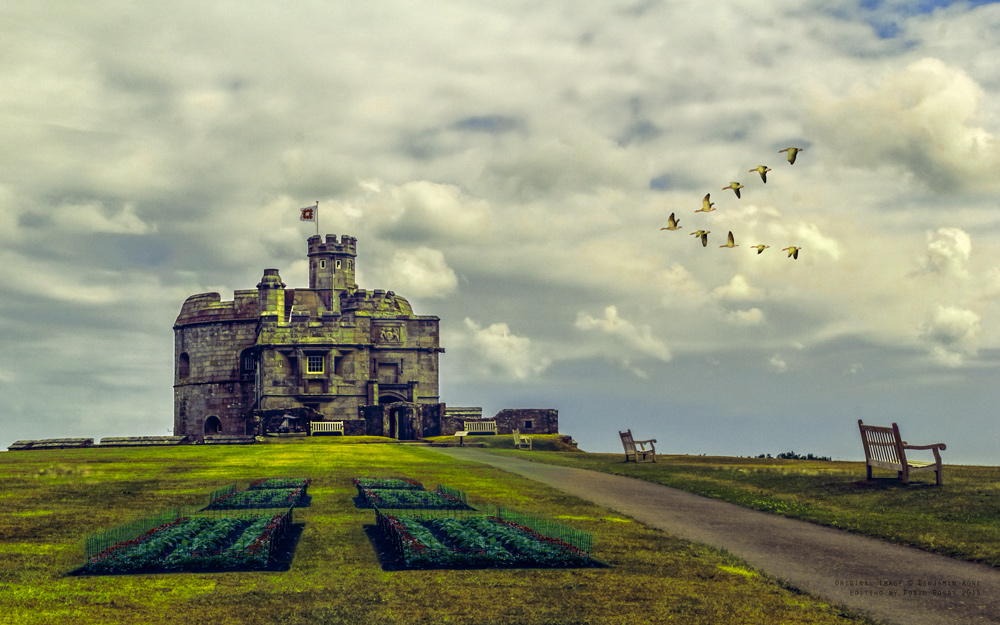
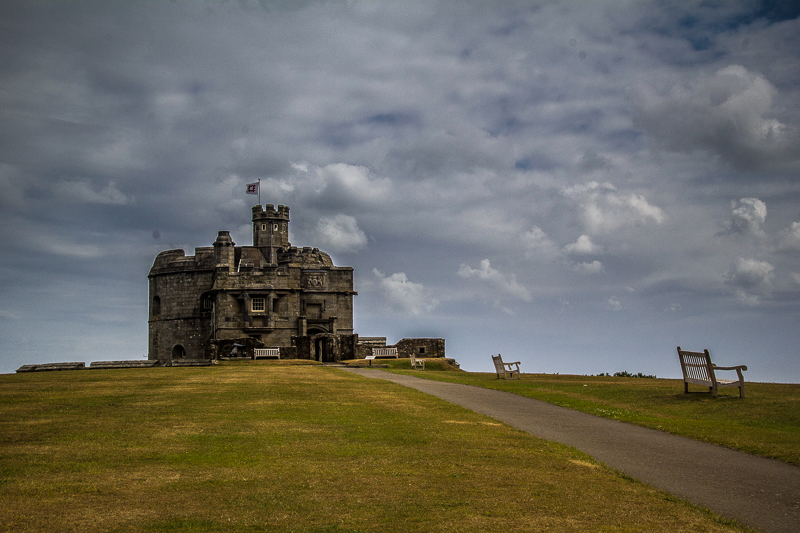
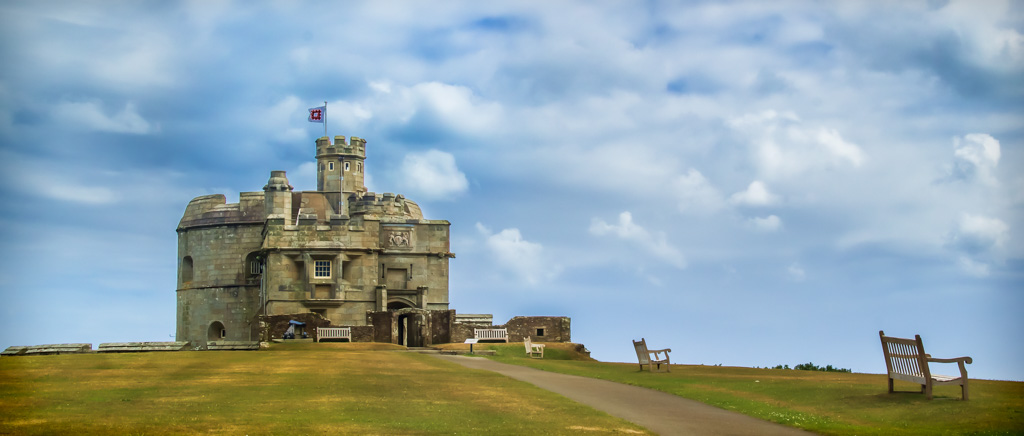
BEFORE PHOTO
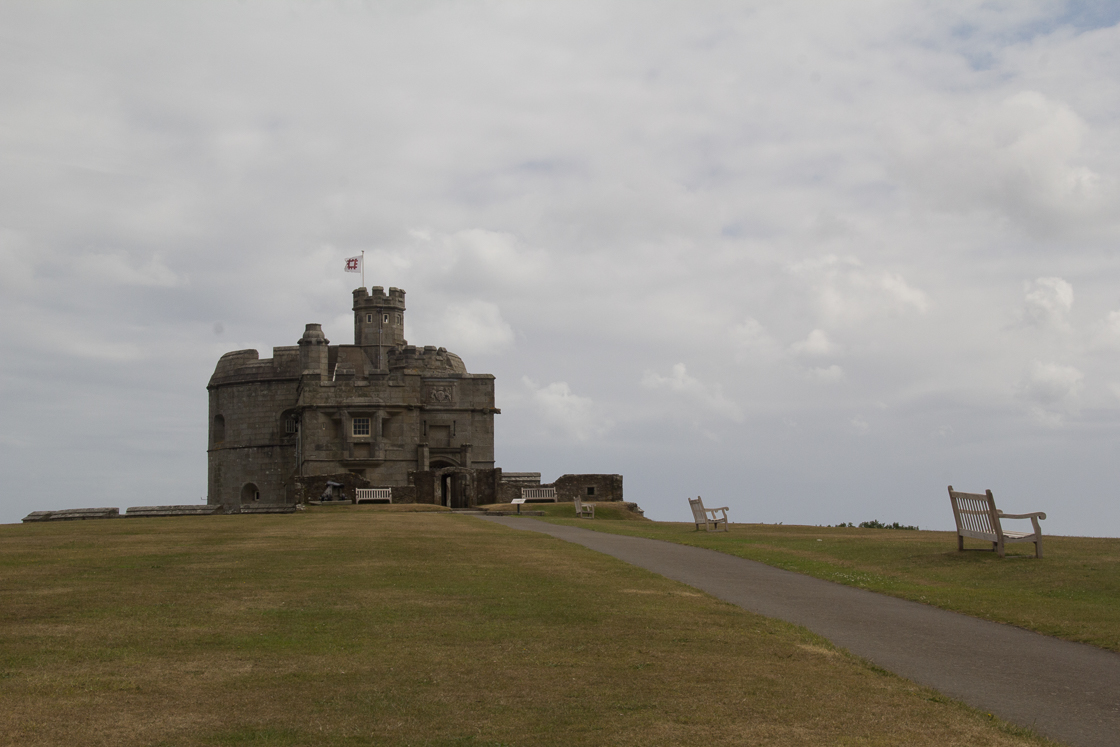
Submitted by Benjamin Rowe — Aperture64
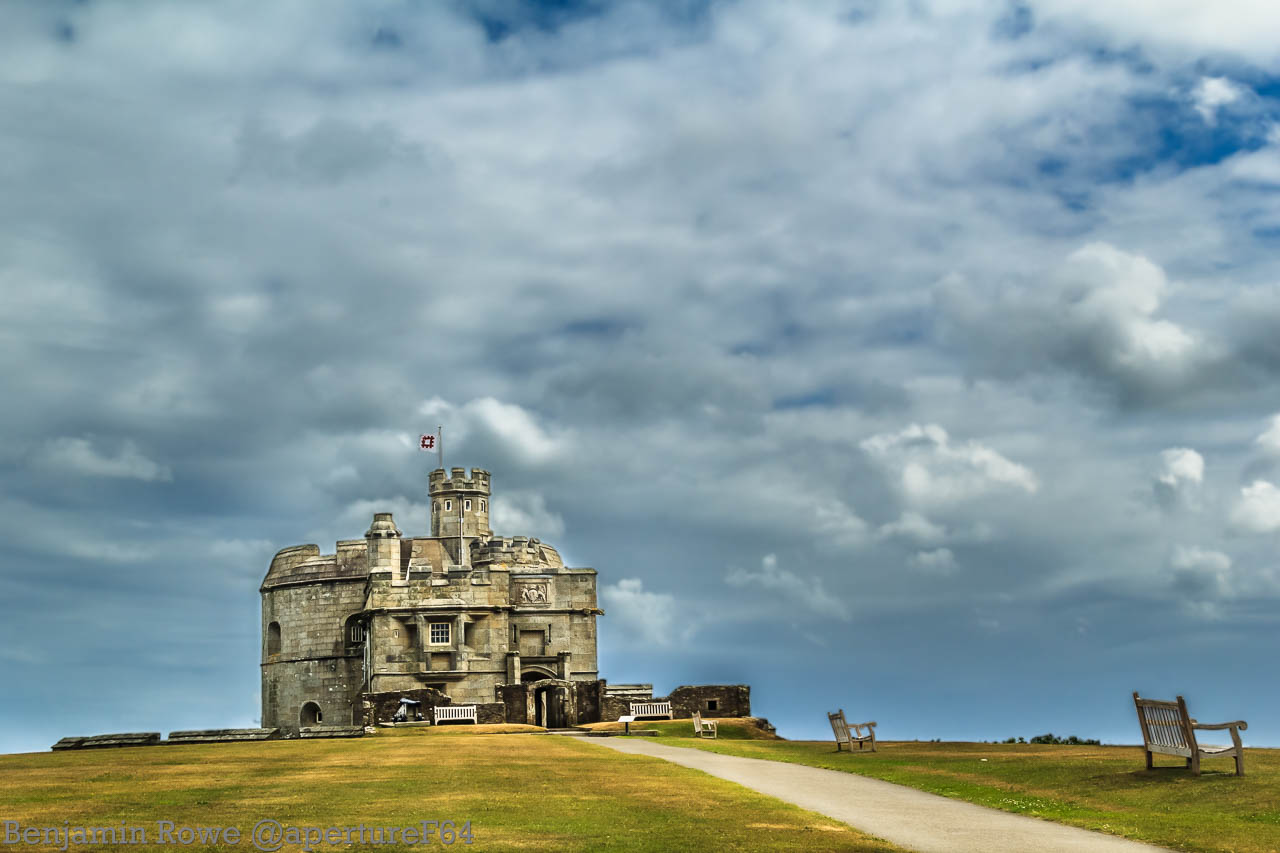
Ben says: I think it was obvious from uploading the bracketed shots that I was going to go for some sort of HDR. I solely used lightroom with this edit balancing the sky and foreground. I didn’t really do anything to fancy as the picture IMHO was strong in itself.
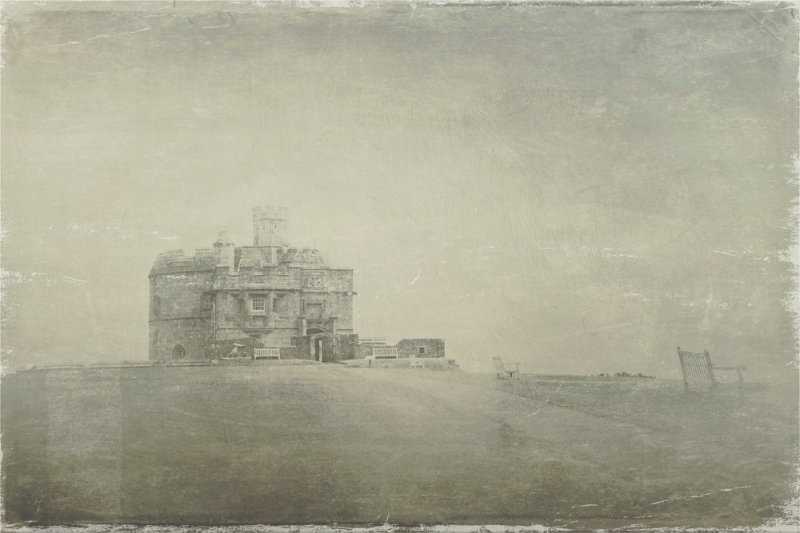
Submitted by Stacy Fischer — Visual Venturing
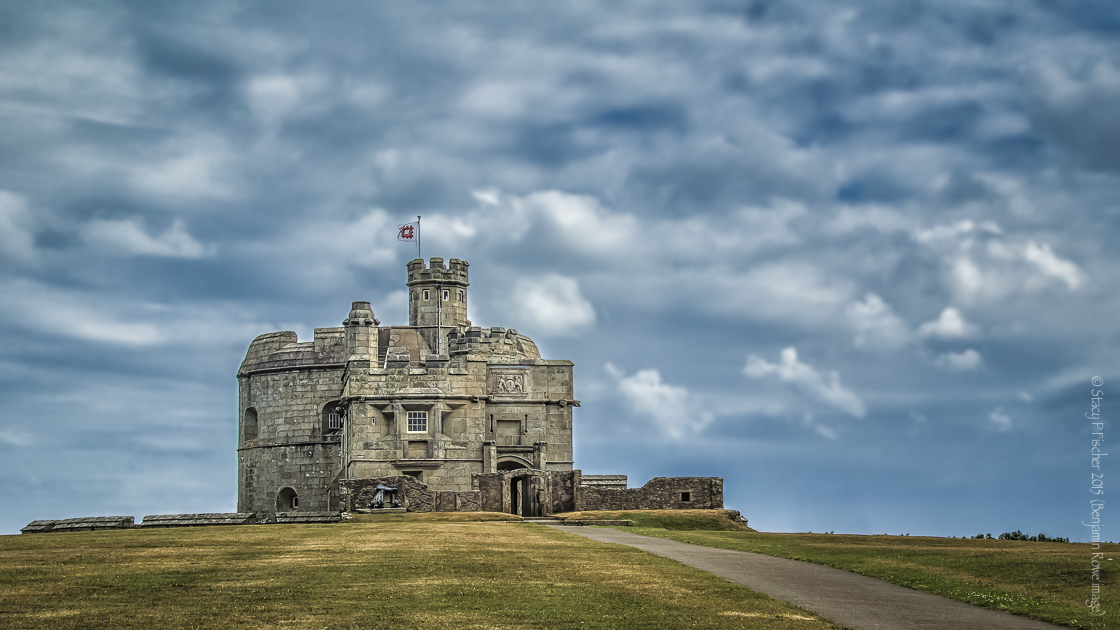
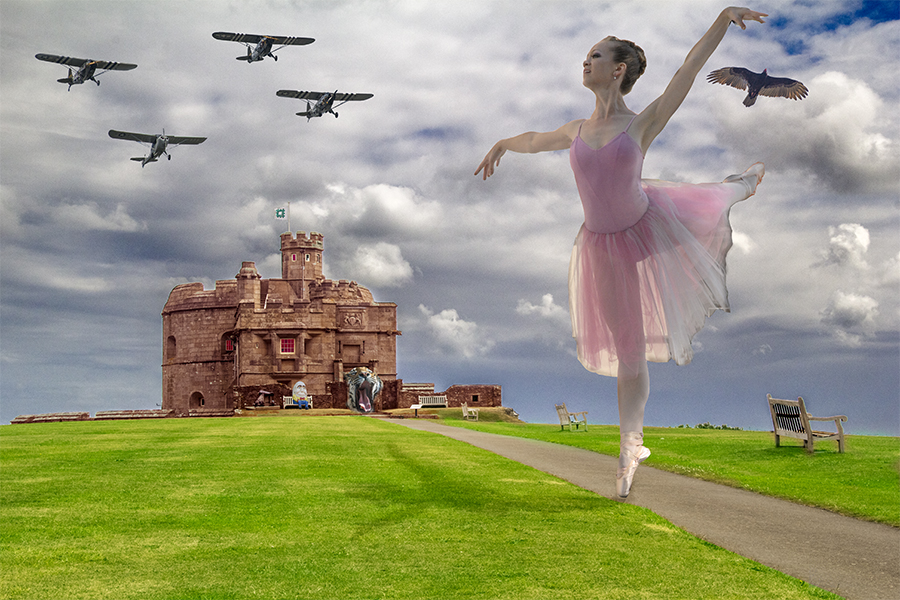
I have to admit, when I first saw Ben’s image, I wasn’t sure the direction I wanted to take it. So I just started playing around. I began in Lightroom, merging Ben’s three bracketed shots (thanks for that fun twist, Ben!) and following my usual workflow – lens correction, removal of chromatic aberration, choosing camera calibration setting of “Landscape,” applying noise reduction, and then applying a sharpening preset. I also spent some time removing dust spots from the sky, which appeared as I edited.
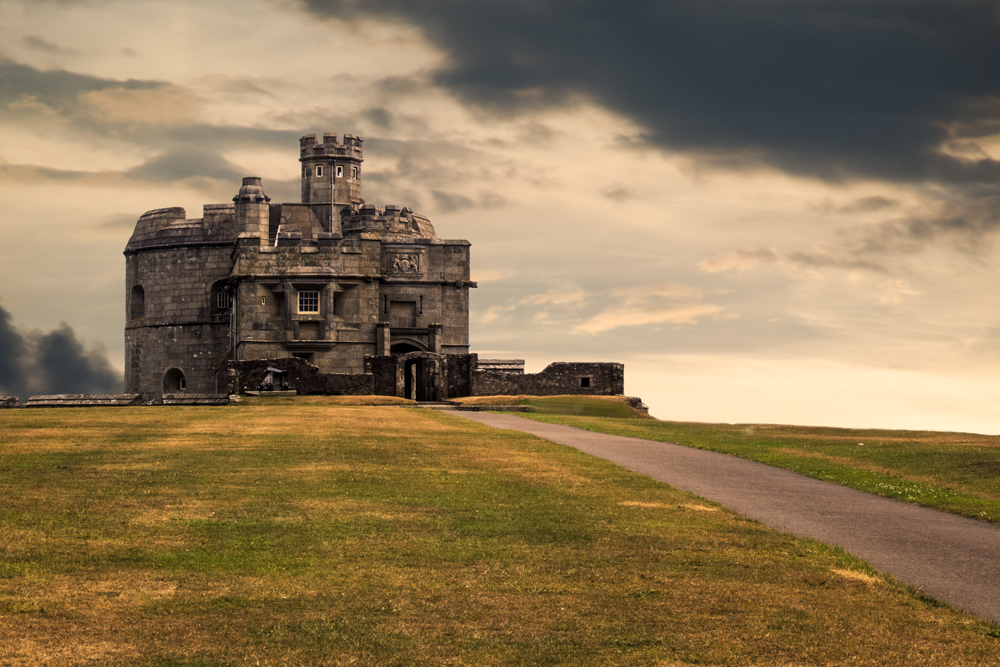
I followed up with Color Efex Pro, where I chose and tweaked two filters: detail extractor and tonal contrast (balanced). Back into LR where I applied two radial filters: one to darken the area around the castle; the second, to apply more adjustments to the castle (increased sharpening, highlights, and whites, opened shadows, and reduced noise). And last, taking a page from Emilio’s notebook, I used the adjustment brush set to a “sunlight” preset, which I tweaked (by decreasing its strength) and applied it to the scene (based on the position of the shadows cast by the benches):

As for cropping, I chose a 16×9 ratio, pulling the sides in a bit, and used the rule of thirds, placing the upper left grid point on the flag. I wanted to accentuate the sky more than the grass, as it was more visually interesting, and I wanted the entirety of the castle and as much of the top of the hill in as possible, to give the castle a more desolate (and to me) majestic appearance.
I also removed the benches. I’d like to say it was my idea, but I have to credit my hubby. When I was struggling a bit with where I wanted to go with Ben’s image, he took one look and said, “Well, if it were me, I’d take out the benches to make the scene look older” (or words to that effect). I used Lightroom’s spot removal tool (which performed beautifully), and once I did that, everything else fell into place. Thanks, Dave!
One last step – more noise removal. With all my edits, there was still quite a bit of noise in the sky. I tried something new this time: I took it into Photoshop, selected the sky, and used the noise removal filter, twice. That was a fun experiment and I was pleased with the result.
Thanks, Ben, for a wonderful image!
Submitted by Robin Kent — PhotographybyKent
Submitted by Laura Macky — Laura Macky Photography

Laura says: My gosh I love this challenge. Please stop by my blog if you have a chance to see how I did it. Thank you!
Submitted by Brenda — A Meditative Journey with Saldage
Submitted by Chris — sv-takeiteasy
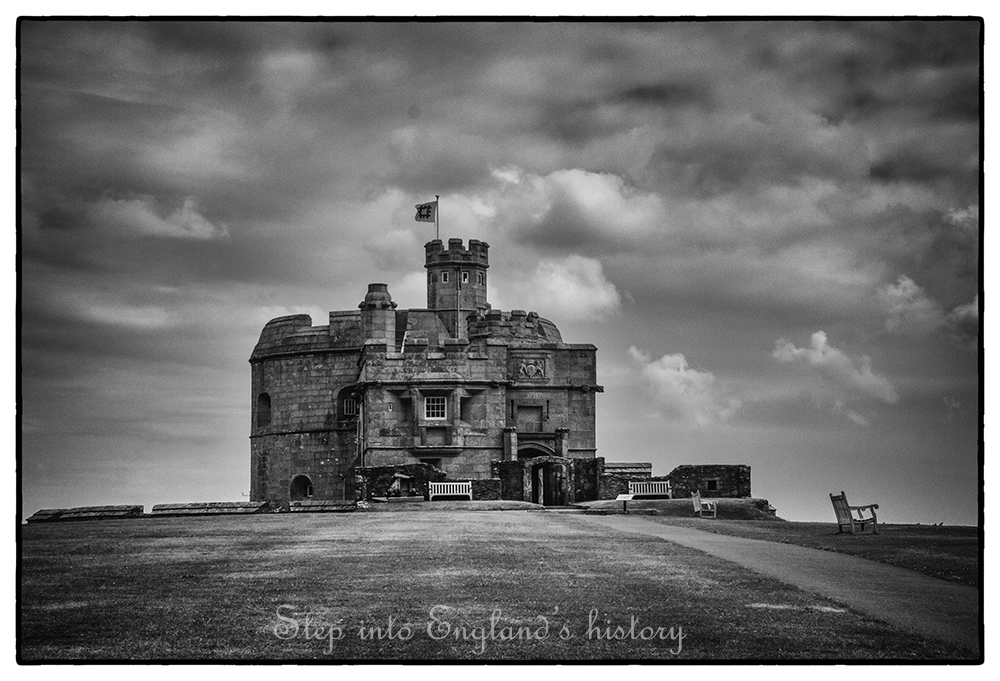
Chris says: I soon as I saw Ben’s photo, I thought this castle has so much history. I want to convert the image into B&W and bring out the details in the stones and the sky.
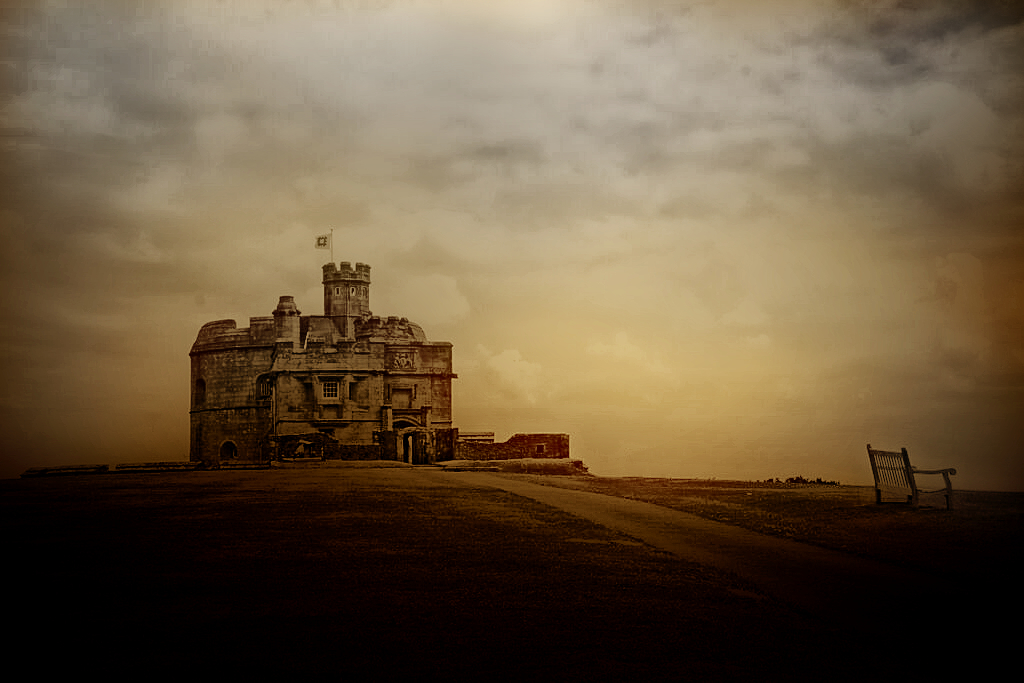
Submitted by Amy — The World Is a Book
Amy says: I used LR for the basic editing, then moved to the Silver Efex Pro 2 and selected soft sepia, back to LR to make a few small adjustments and added a vignette (only 15).
Submitted by Ashleigh Pienaar — Through the Viewfinder
Submitted by Shannon Hart — Shannon’s Creative Work
Submitted by Raewyn — decocraftsdigicrafts

Raewyn says: Here is my interpretation of Ben’s photo, edited in Photoscape.
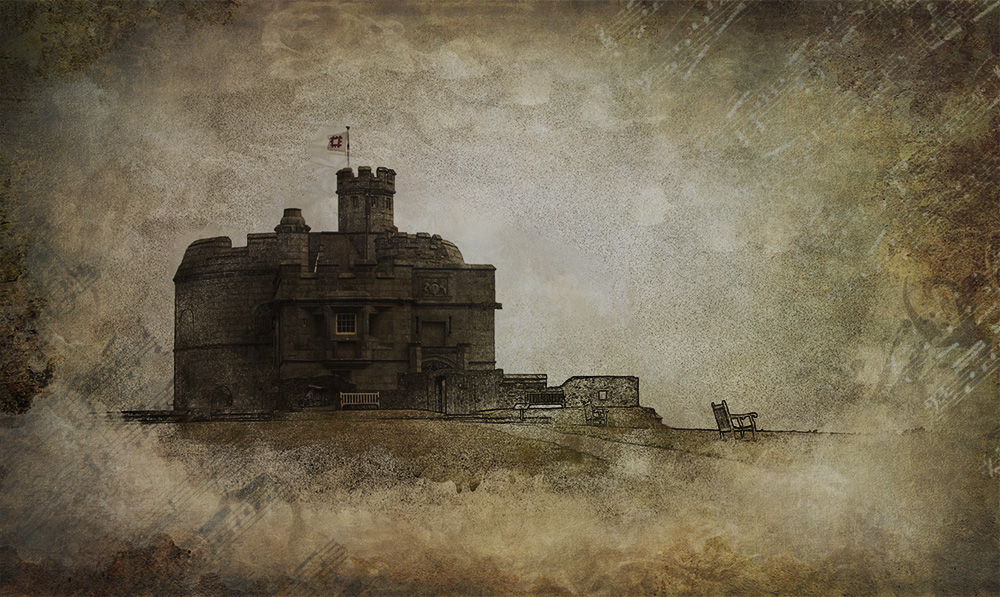
Submitted by Lynne Ayers — Beyond the Brush Photography
Lynne says: I had Wuthering Heights in my head when doing my editing 🙂
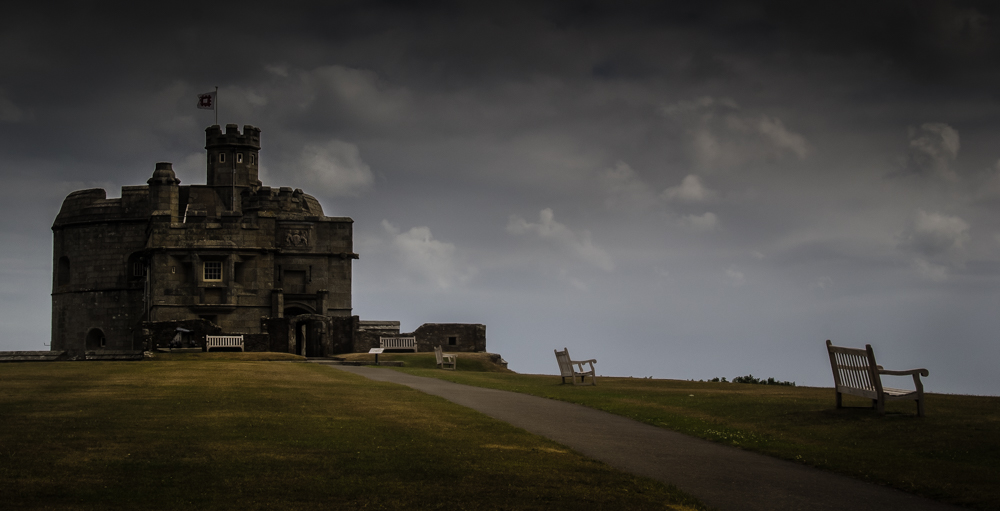
Submitted by Amanda Salina — The SnapShot Siren

Amanda says: I decided to make it a stormy scene, had a little noise trouble with the sky but I like the way the end result came out.
Submitted by Ted Griffith — Ted Griffith’s Photo Art Studio
Submitted by Cee Neuner — Cee’s Photography
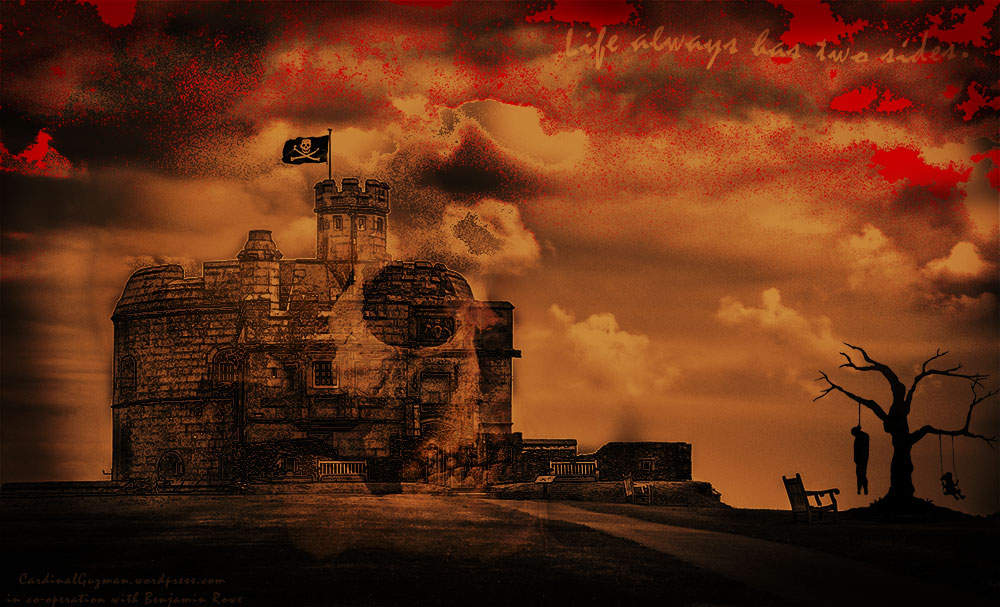
Submitted by Max — Cardinal Guzman
Submitted by Julie Powell — Julie Powell Photography
Submitted by Natalie — Middle Europe
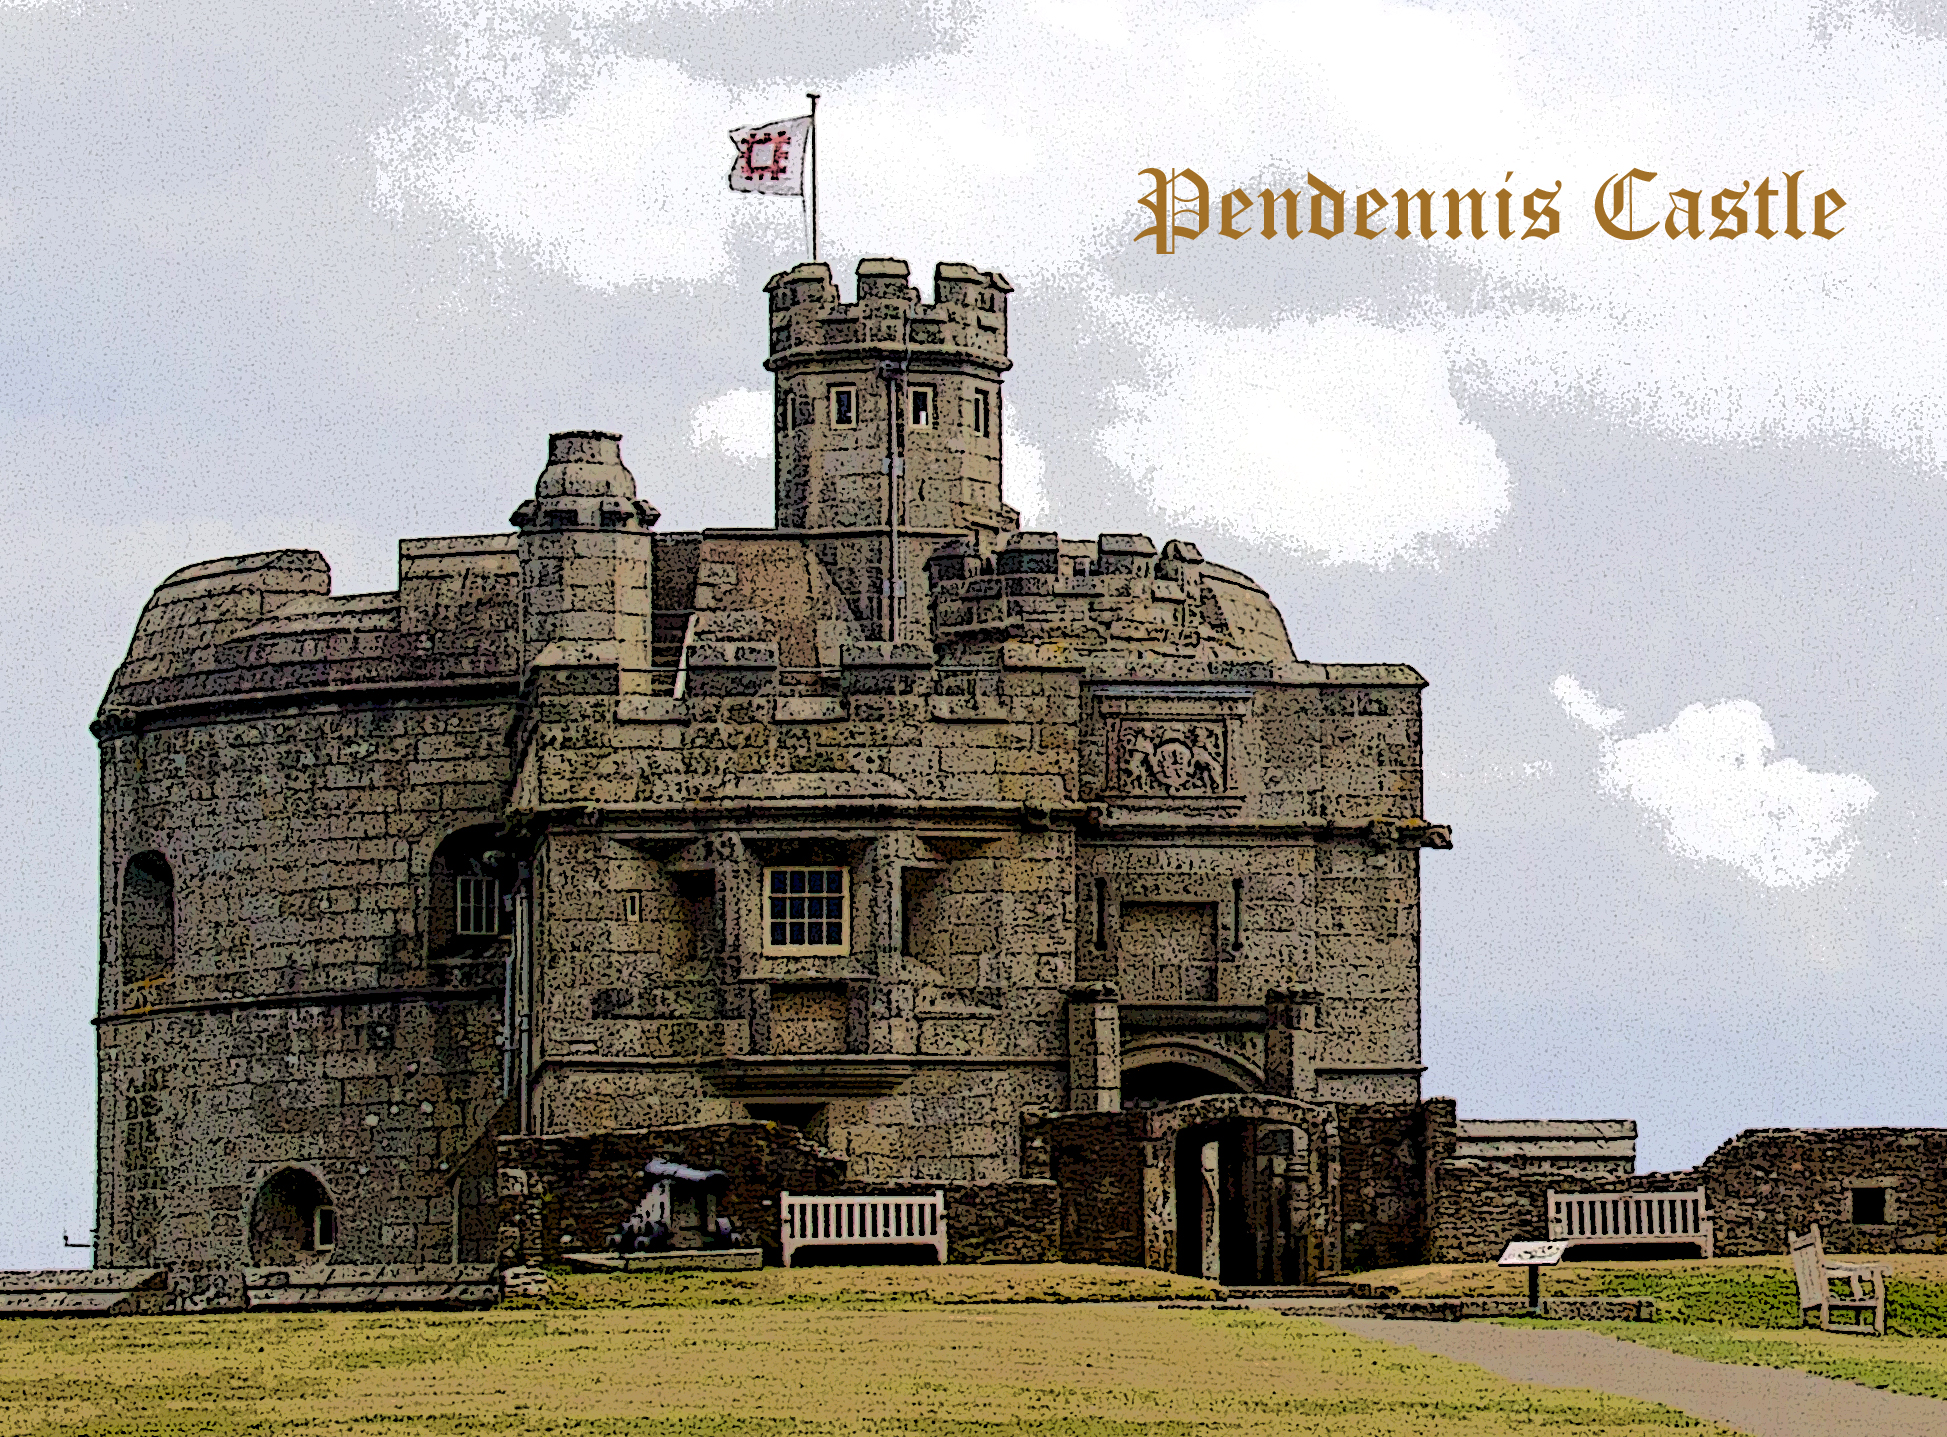
Natalie says: I love castles and old buildings. Often photos of monuments such as these can also be transformed into great line drawings.
Submitted by Robyn Gosby — Captivate Me
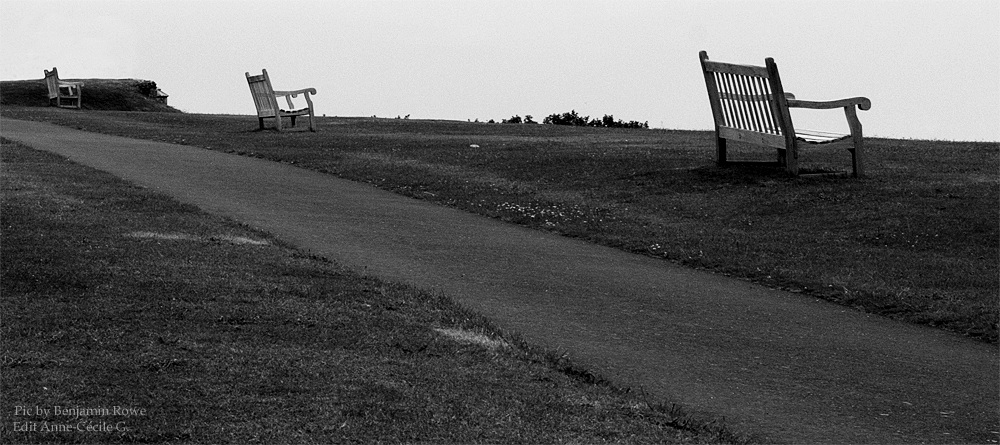
Submitted by Anne-Cécile — UnClicUnePhoto
Submitted by Nancy / dogear6— Living the Seasons
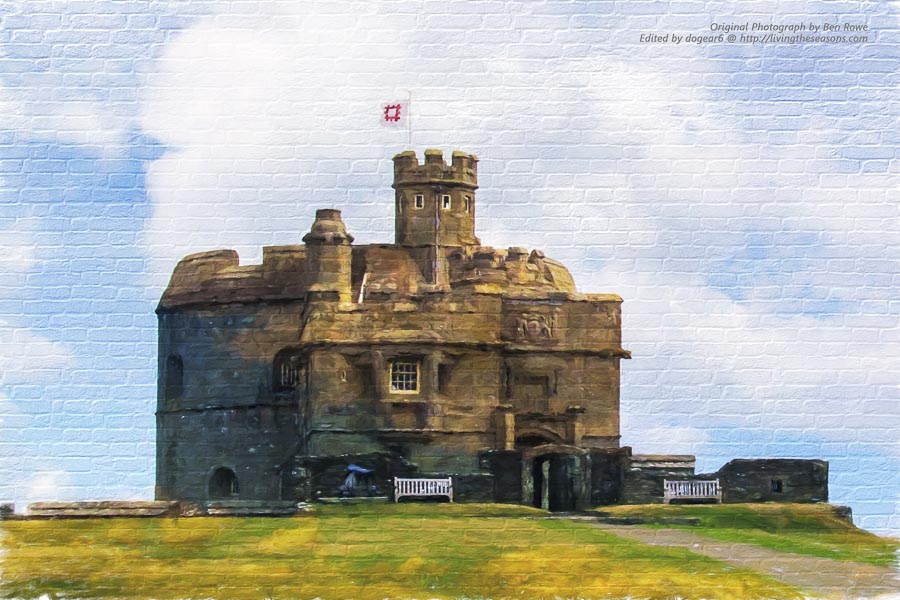
Nancy says: Thanks to Stacy and Ben for another fun time with ABFriday! The castle had so many great textures to it and so many possibilities! After doing some basic improvements in Lightroom (exposure, contrast, etc.), I spent some time cloning out some of the benches, a sign, and a piece of roof on the far right. I also cropped the picture to remove some of the grass and sky. I felt this cleaned out some clutter without significantly changing the picture.
As much as I enjoyed the detail on the building, I was drawn to an urban art filter in Topaz Impressions. I didn’t like the filter itself, but the idea was appealing. I found a different painterly effect that I liked and changed the background to brick, adjusting it until I got the size and texture that I wanted. So I created street art with Ben’s picture! The textures went away, but I really liked the lines and boldness of the final picture.
Lastly, I took the photo into onOne to find a border for it. As I experimented, I found a dynamic contrast filter that lighted and brightened up this picture even more (I never did find a border that I liked).
To see the original urban art, an experiment with Topaz Glow, and other experiment failures, visit my blog.
Submitted by Kaz G. — daysandmonths
Kaz says: I really enjoyed the photo and using the three images was a great idea which is the way I decided to go. I wanted to place emphasis on the foreground chair and cropped the image to bring the castle and bench seat in more snugly together. I added a graduated filter to dramatise and darken the sky somewhat and give some richness to the grass. A mask here or there to lighten parts of the castle and doorway were also used and I did lighten the chairs minimally to try to make them stand out a little more. Lastly a slight vignette to darken the edges and I was done.
Overall a really enjoyable afternoon spent playing with Ben’s photo.
Submitted by Mary Hone — Tales from the Backroad
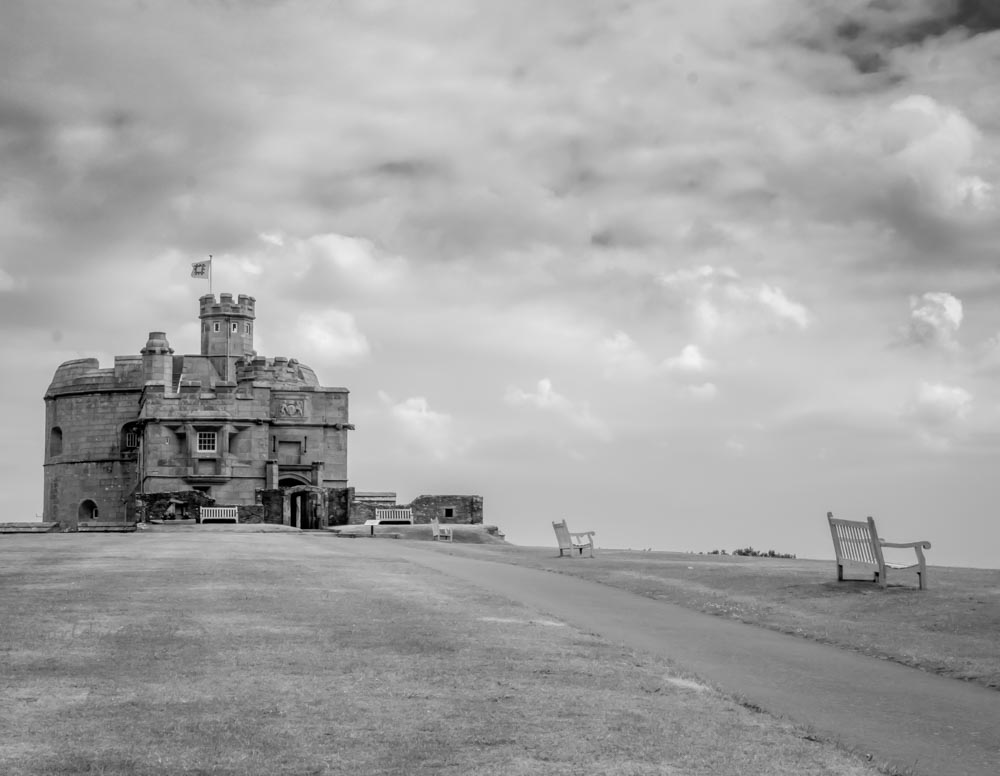
Submitted by Bren Ryan — Ryan Photography

Bren says: I processed the image using three bracketed photos in Photomatix Pro and then converted the image to black and white. I enhanced the clarity of the castle, cropped the image and then added an cyan/yellow split tone.
Submitted by Loré Dombaj — Snow’s Fissures and Fractures
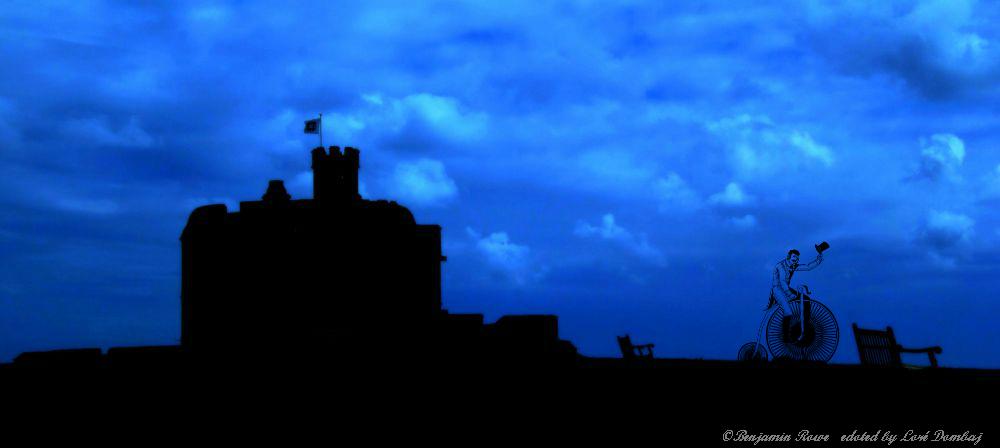
Loré says: One Photo Focus offers so many great edits…not just great, but stelar versions. That’s why I always go in a crazy direction, trying to offer something new, unexpected. Because, sometimes the only way to make a difference is to be a little bit crazy.
Submitted by Marsha Leith — CoolQuilting
Marsha says: Edited on the iPad with Filterloop and Formulas apps.
Submitted by Yan Balczewski — From Hiding to Blogging
Submitted by Katie Prior — Drawing with Light
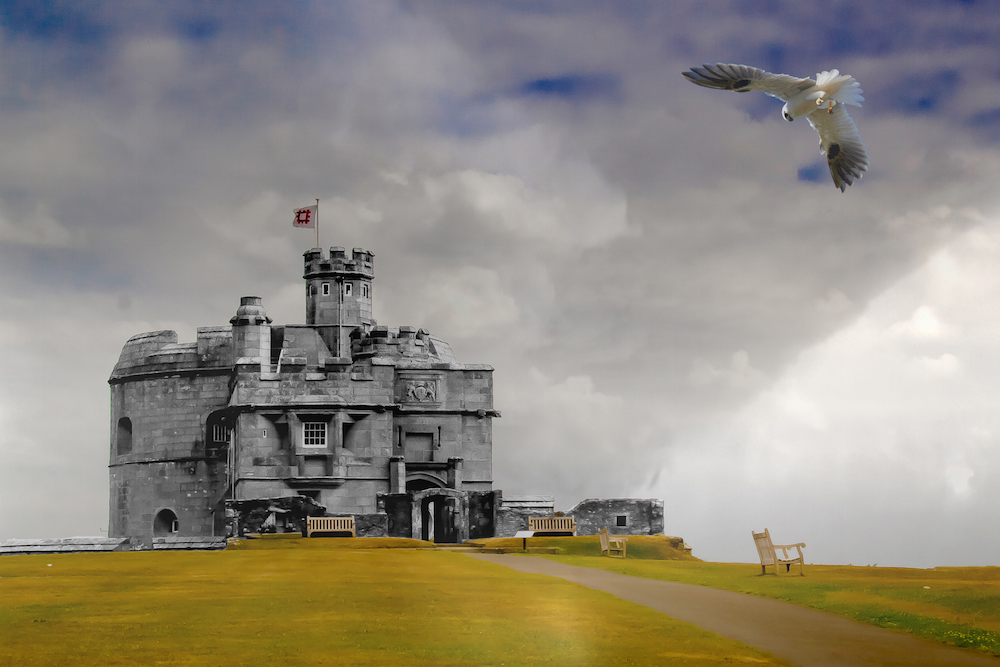
Katie says: Thanks to Ben for this month’s image. I wanted to try out a new technique (to me) and replace the sky to create a bit more drama. Check out my post to see how I got on.
Submitted by Emilio Pasquale — Photos by Emilio


Please click on the links of those who contributed this week, to read about their post-processing steps and/or to see what other treasures they have on their blogs. They’d love to have you visit!
So what do you think of the ABFriday forum?
Feel free to leave your thoughts and suggestions in the comment section. And don’t forget to view the guidelines if you want to participate. I’d love to have you onboard!

These are some AMAZING edits. Dang work got in the way of me doing this. Boo hiss boo. What a bunch of creative and fun edits! Great job everyone.
LikeLike
Yup, we missed you, Michelle, but now we all get to work on your image in just a few days! 🎉😄
LikeLiked by 1 person
I am trying to catch up on some things I missed and reading through blogs I like. I did work on my own edit for 1PF last night too! This way, I don’t miss my own picture. Wouldn’t that be funny and sad?
LikeLiked by 1 person
Don’t worry, I wouldn’t have let you 🙂
LikeLiked by 1 person