 Highlighting the creative magic behind post-processed photos

After a fun and successful April One Photo Focus, we’re back to ABFriday this week. Just a reminder, next week’s ABF post will reveal the photo for May’s One Photo Focus that all participants will be editing. May’s image will be from Shane Francescut of The Weekly Minute, so be sure to check back if you want to participate. For all the details on ABFriday and One Photo Focus, visit the After-Before Friday Forum page. And now, on to this week’s galleries of submissions!
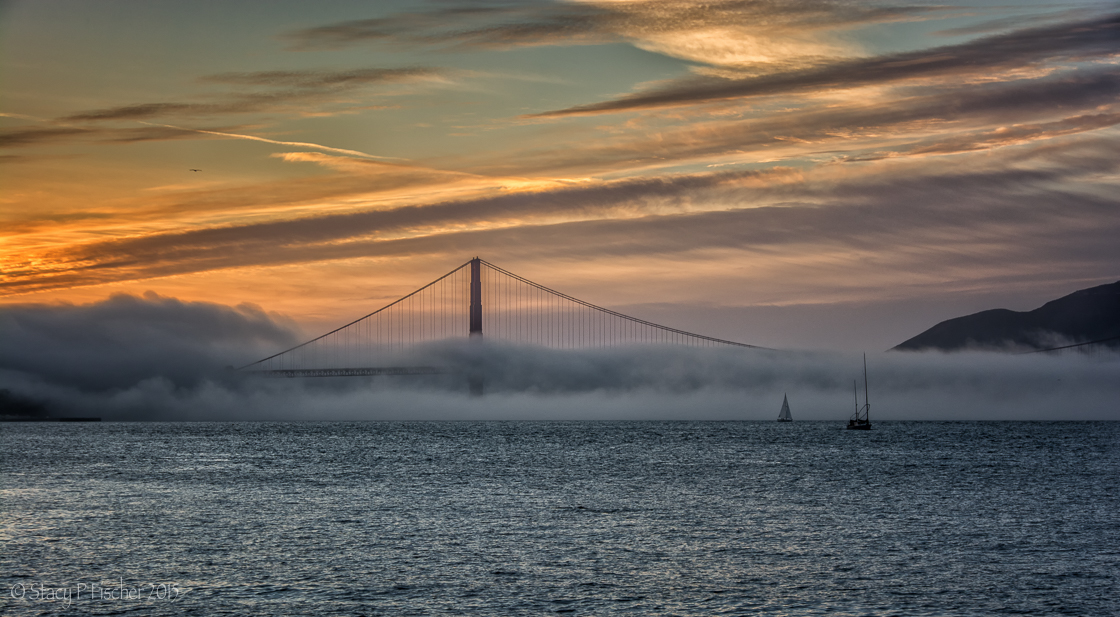
My submission: This week is a very simple edit all done within Lightroom with a brief focus on the spot removal tool.
 Stacy Fischer, Visual Venturing")

Submitted by Robin Kent — PhotographybyKent
 Robin Kent, PhotographybyKent")

Robin says: I’ve been spending a lot of time down at the Tidal Basin this week as the annual cherry blossom extravaganza builds toward its climax. But sometimes the not-quite-ready star of the show (cherry blossoms in this case) gets upstaged by the old pro (the Jefferson Memorial). Last Sunday morning’s sunrise provided Tom an opportunity to take center stage as the prime photography subject. And he did not disappoint. For details click here.
Submitted by Loré Dombaj — Snow’s Fissures and Fractures
 Loré Dombaj, Snow's Fissures and Fractures")

Loré says: Just a simple touch in this week’s edit. Boost of color, adjustment of exposure, my goal was to make the original a little bit richer, without going too far.
Submitted by Mary Hone — Tales from the Backroad
 Mary Hone, Tales from the Backroad")

Submitted by Nic Anderson — Photography by Nic
 Nic Anderson, Photography by Nic")

Nic says: I was playing around today trying to make this image ‘better’. My main goal was to give this photo more oomph. I took it facing the sun, which put everything in shadow. I watched some tutorials I found online. They were on faux hdr and grunge in GIMP. Here’s what I came up with by combining those tutorials and putting my own spin on it. Check out my how-to here.
Submitted by Benjamin Rowe — Aperture64
 Benjamin Rowe, Aperture64")

Ben says: After a fun easter and a few days with school being closed, I managed to visit the city zoo and photographed this little fellow ( a bearded dragon) in the reptile house. My post will be live here.
Submitted by Amy — The World Is a Book
 Amy, The World Is a Book")

Amy says: 1. cropped, 2. increased the highlight on the LR basic panel, 3. increased the clarity a little, 4. run the graduated filter through the flower, 5. added vignette. Voila!
Please click on the links of those who contributed this week, to read about their post-processing steps and/or to see what other treasures they have on their blogs. They’d love to have you visit!
So what do you think of the ABFriday forum?
Feel free to leave your thoughts and suggestions in the comment section. And don’t forget to view the guidelines if you want to participate. I’d love to have you onboard!

Another great tutorial, Stacy. I thought I would have to forego future ABF challenges but now I think if I just concentrate on one tool in Lightroom each week I’ll be able to handle it. I missed you guys! And I really like the square crop on this!
LikeLike
Hi, Emilio. I know the ABF challenges take time (they actually take me a disproportionate amount of time because I spend too much time in post-processing that I have to try and recreate and not enough time behind my camera getting better so I won’t have to spend as much time post-processing – how’s that for a circular thought?) Anyway, I digress. I ended up putting this video together very late Thursday night/very early Friday morning after the first photo I had chosen and the resulting video turned out to be a bust. Because of being bleary-eyed, I chose the simplest photo I could. Seems even with that, there were some helpful new tips. So we both have to remember to KISS 😉 (Yeah, I can hear your wisecrack all ready!)
As for the square crop, a result of me trying my hand at Instagram – which I started but haven’t posted anything in like two weeks….
Glad to have you back, Emilio.
LikeLike
I had no problem understanding your circular thought. And as for wisecracks, I have reformed. Well, not really butI’m too tired. Just got in from the gym and it’s too early for a glass of wine. Oh, wait. It’s 5:39. Not too early at all!!! 😉
LikeLike
I wait until it’s at least 6 … somewhere 😉
LikeLike
6 is a waste of a totally good hour. It’s 5 for me!
“It’s only half-past twelve but I don’t care.
It’s five o’clock somewhere”
LikeLike
Is that from a song, Emilio? 😉
LikeLike
Well, I’m back and feel like I’ve missed so much. It’s going to take me a while to comment on everyone’s work. I’ve already peeked at Shane’s photo for May 1 and, if he sticks with the image, I am going to have so much fun! I’m at work right now so as soon as I can listen to your ABF I’ll be back!
LikeLike
Welcome back, Emilio! You were most definitely missed. As for catching up, I say just start from now and move forward 🙂 And, clever you, how did you know Shane’s image was in Dropbox already? 😉
LikeLike
I now store a lot of my photos in dropbox and when I went in, I went into the wrong dropbox. Purely accidental. But I like the photo. Trouble is, I seem to only be able to use the jpeg yet there seems to be another file there. Is it supposed to be RAW? Will there be a RAW?
LikeLike
Yup, I just went in to double check. He sent me the links to both a jpeg and RAW, so I think the xmp file is simply a mistake. I’m also wondering about the resized jpeg image. It’s 1000×661, which means no one will have to resize it before they send it. On the other hand, not as easy to work on as the full sized image. I’ve asked him about that as well. Thanks for the heads-up. I likely wouldn’t have realized all this until up against the deadline.
LikeLike
Nice simple explanation of how to use the clone tool in LR5 Stacy. I like the contrasts you have in your final image and the way that you showed us the areas on the histogram.
Some nice edits this week, I’ll be looking round them very soon. 🙂
LikeLike
Thanks, Katie. I’m glad the histogram tip was something new and useful for you 🙂
LikeLike
Great tutorial, Stacy! 😀 I always enjoy learning more about Lightroom from you. I really like your edit, the changes you made to spread out the histogram was very interesting, and made a big difference in the photo. I really like the stark black & white. I also like the square crop. 😀
Some great images this week, I’ll have to go visit everyone and see how they did it. 🙂
After I sent in my image on Tuesday, I continued to play around with other photos and came up with a really great one, too bad it was really late or I would have asked you to use it instead. Anyway, I cover all that on my blog. I need to start playing around earlier so that I send in the best image. 😛
LikeLike
Thanks, Nic, on all counts 🙂 And I need to start visiting everyone’s posts before you all start sending in this week’s photos 😉 That’s my goal for tonight!
LikeLiked by 1 person
Actually, I like the image, perfect monochrome. I watched the video, very clear and helpful, as usual. Hope you get at least a free t-shirt. 😛
LikeLike
LOL 🙂 Thanks for liking the photo, Loré, AND for watching the video!
LikeLiked by 1 person
Good tutorial on LR5’s spot removal capabilities, Stacy. Very helpful. Although toward the end there, I began to fear the medics would burst into the scene with a bottle of cough medicine;-)
LikeLike
LOL. Glad it happened near the end! As for the video, basic but seems it helped out a few 🙂 Thanks, Robin.
LikeLike
Great editing, Stacy! Your instruction made it so easy to understand. Thank you! 🙂
LikeLike
Thanks, Amy, for watching the video 🙂 I thought I moved through things a bit too rapidly near the end, so I’m delighted you found it helpful!
LikeLike
Stacy, your after before is remarkable. Actually so are all the others. 🙂
LikeLike
Cee, your always so very kind. Really, not a favored photo, but one that worked well for purposes of an ABF video. I’m surprised (and glad) that you like it so much 🙂
LikeLike
I like your edits Stacy, great job on bring out the image,
LikeLike
I ran short of time this week, Mary, and opted for a very simple image. Nothing special about the photo, but one that enabled me to show the spot removal tool in action. 🙂
LikeLike